This is a guide on how to connect Tesla Model 3 & Model Y with Autel TESKIT Cable for diagnosis. Compatible with Maxisys tablets such as Autel Ultra, MS909, MS919, Elite 2, MS906S, MS906 Pro, MS906 Pro-TS, MS908S, MS908S Pro, MS906BT, MS906TS, MS906, D1 Pro.

| Adapter Cable | Supported Model | Model Year | Connection | Connection Port Location | Function |
| JY03-1A1-778 | Model 3 & Model Y | All | X930 | Lower side of the rear A/C vent | Perform diagnosis for CAN related systems |
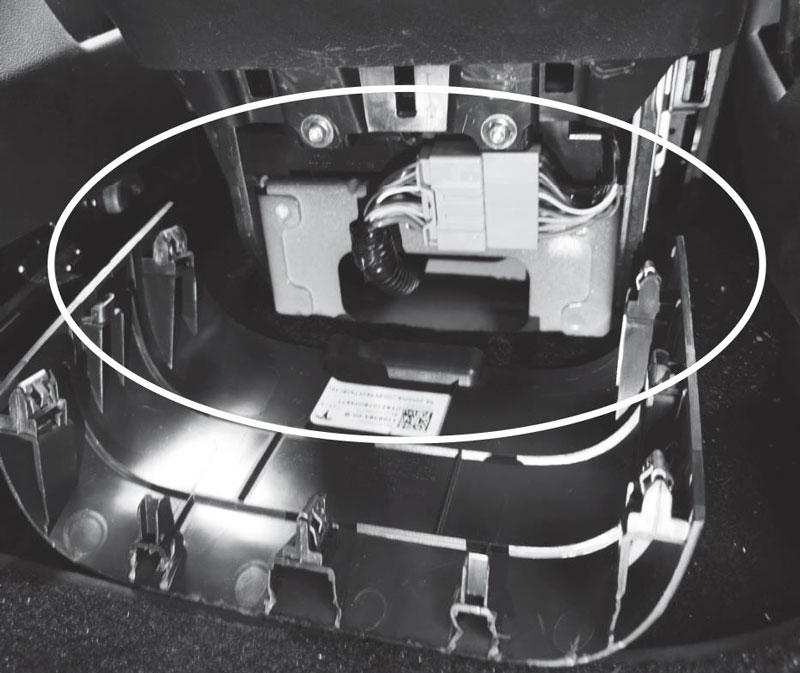
Location of X930
Connection Guide
*Note: The Tesla diagnostic adapter can only be connected to CAN related system, and used to read live data and perform diagnostic functions.
– Tools Required(not included)
Plastic pry tools

– Preparation Before Disassembly
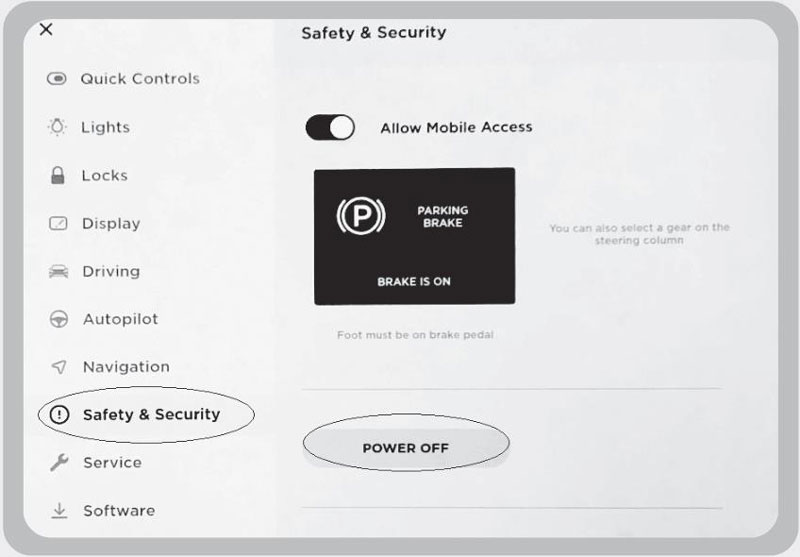
Warning: ensure that the vehicle power is off before dissembling. Do not perform any operations to the doors, windows, seats, air conditioners and other vehicle amenities after power off. Otherwise, the vehicle will be activated.
- Fully roll down the left front door window, open the left front door and the left rear door, press on touchscreen: Control >> Safety & Security >> Vehicle >> Power off.
- After the power is off, the screen will turn off.
Disassembly Steps
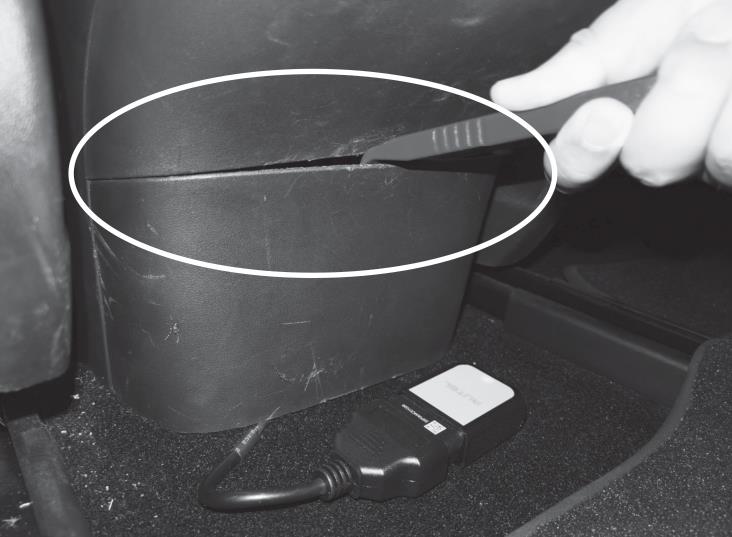
- Remove the trim panel under the rear A/C vent.
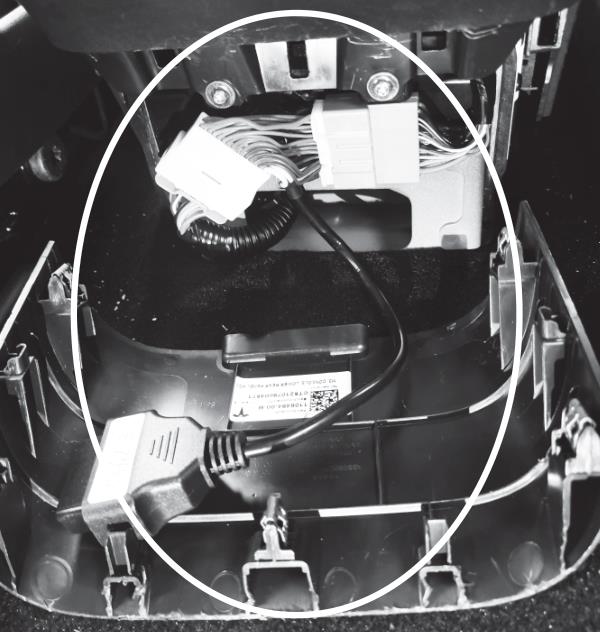
- Disconnect the X930 plug and connect the Autel Tesla Cable.
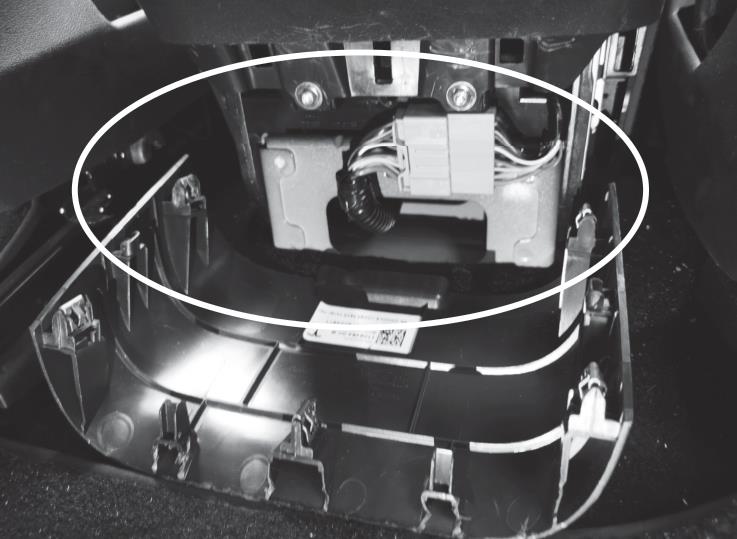
- After the connection is completed, touch the screen or hit the brake to activate the vehicle. The screen will come back on, indicating that the vehicle is powered and ready for diagnostics.
Restore the Vehicle
After the diagnosis is completed, restore the vehicle to its original status: Power off the vehicle >> Reconnect the original cable >> Re-activate the vehicle.
Read also:
Autel TESKIT Tesla Diagnostic Cables Connection Guide
Contact Info:
Email: sales@AutelShop.de
Wechat: +86-13429866263
Whatsapp: +86-13429866263